
What Is a Lithophane?
A lithophane is a 3D print that uses thickness variation to reveal an image when light passes through it. Thinner areas transmit more light and appear brighter; thicker areas block light and appear darker. The technique dates back to early 19th-century porcelain art, and modern consumer 3D printers recreate it precisely with translucent filament.
With a free online lithophane maker like 3DLithophaneMaker, the entire process — from uploading a photo to downloading a print-ready STL or 3MF — takes about two minutes in your browser.
What You'll Need
- A clear photo with visible contrast (portrait, landscape, or close-up).
- Access to the 3DLithophaneMaker app — free, no account required, runs entirely in your browser.
- A slicer (PrusaSlicer, Bambu Studio, Cura, or OrcaSlicer) with a calibrated printer profile.
- White or natural translucent PLA filament for the best light transmission.
Step 1 — Choose the Right Photo
Use a sharp image with a clear subject. Strong foreground/background separation translates well to depth variation. Avoid heavy noise, motion blur, or flat lighting where shadows are absent — those details tend to disappear in the final print.
Good choices: portraits with natural side or front lighting, pets against a plain background, landscape shots with defined sky, or close-up product shots.
Step 2 — Upload and Crop in 3DLithophaneMaker
Open the lithophane generator and upload your image. Use the built-in crop tool to frame tightly around your subject and remove empty margins that add no detail. Tight cropping improves the pixel-to-millimeter mapping and keeps resolution focused where it counts.
The live 3D preview updates in real time so you can judge the crop before committing to an export.
Step 3 — Pick the Best Lithophane Settings
Use these as starting points, then tune based on your printer, filament, and backlight source. The 3DLithophaneMaker presets apply these defaults automatically.
Flat lithophane — recommended starting values
- Width x Height: 100 x 150 mm
- Min/Max thickness: 0.8 / 3.2 mm
- Resolution: 0.4 mm/px
- Nozzle size: 0.4 mm
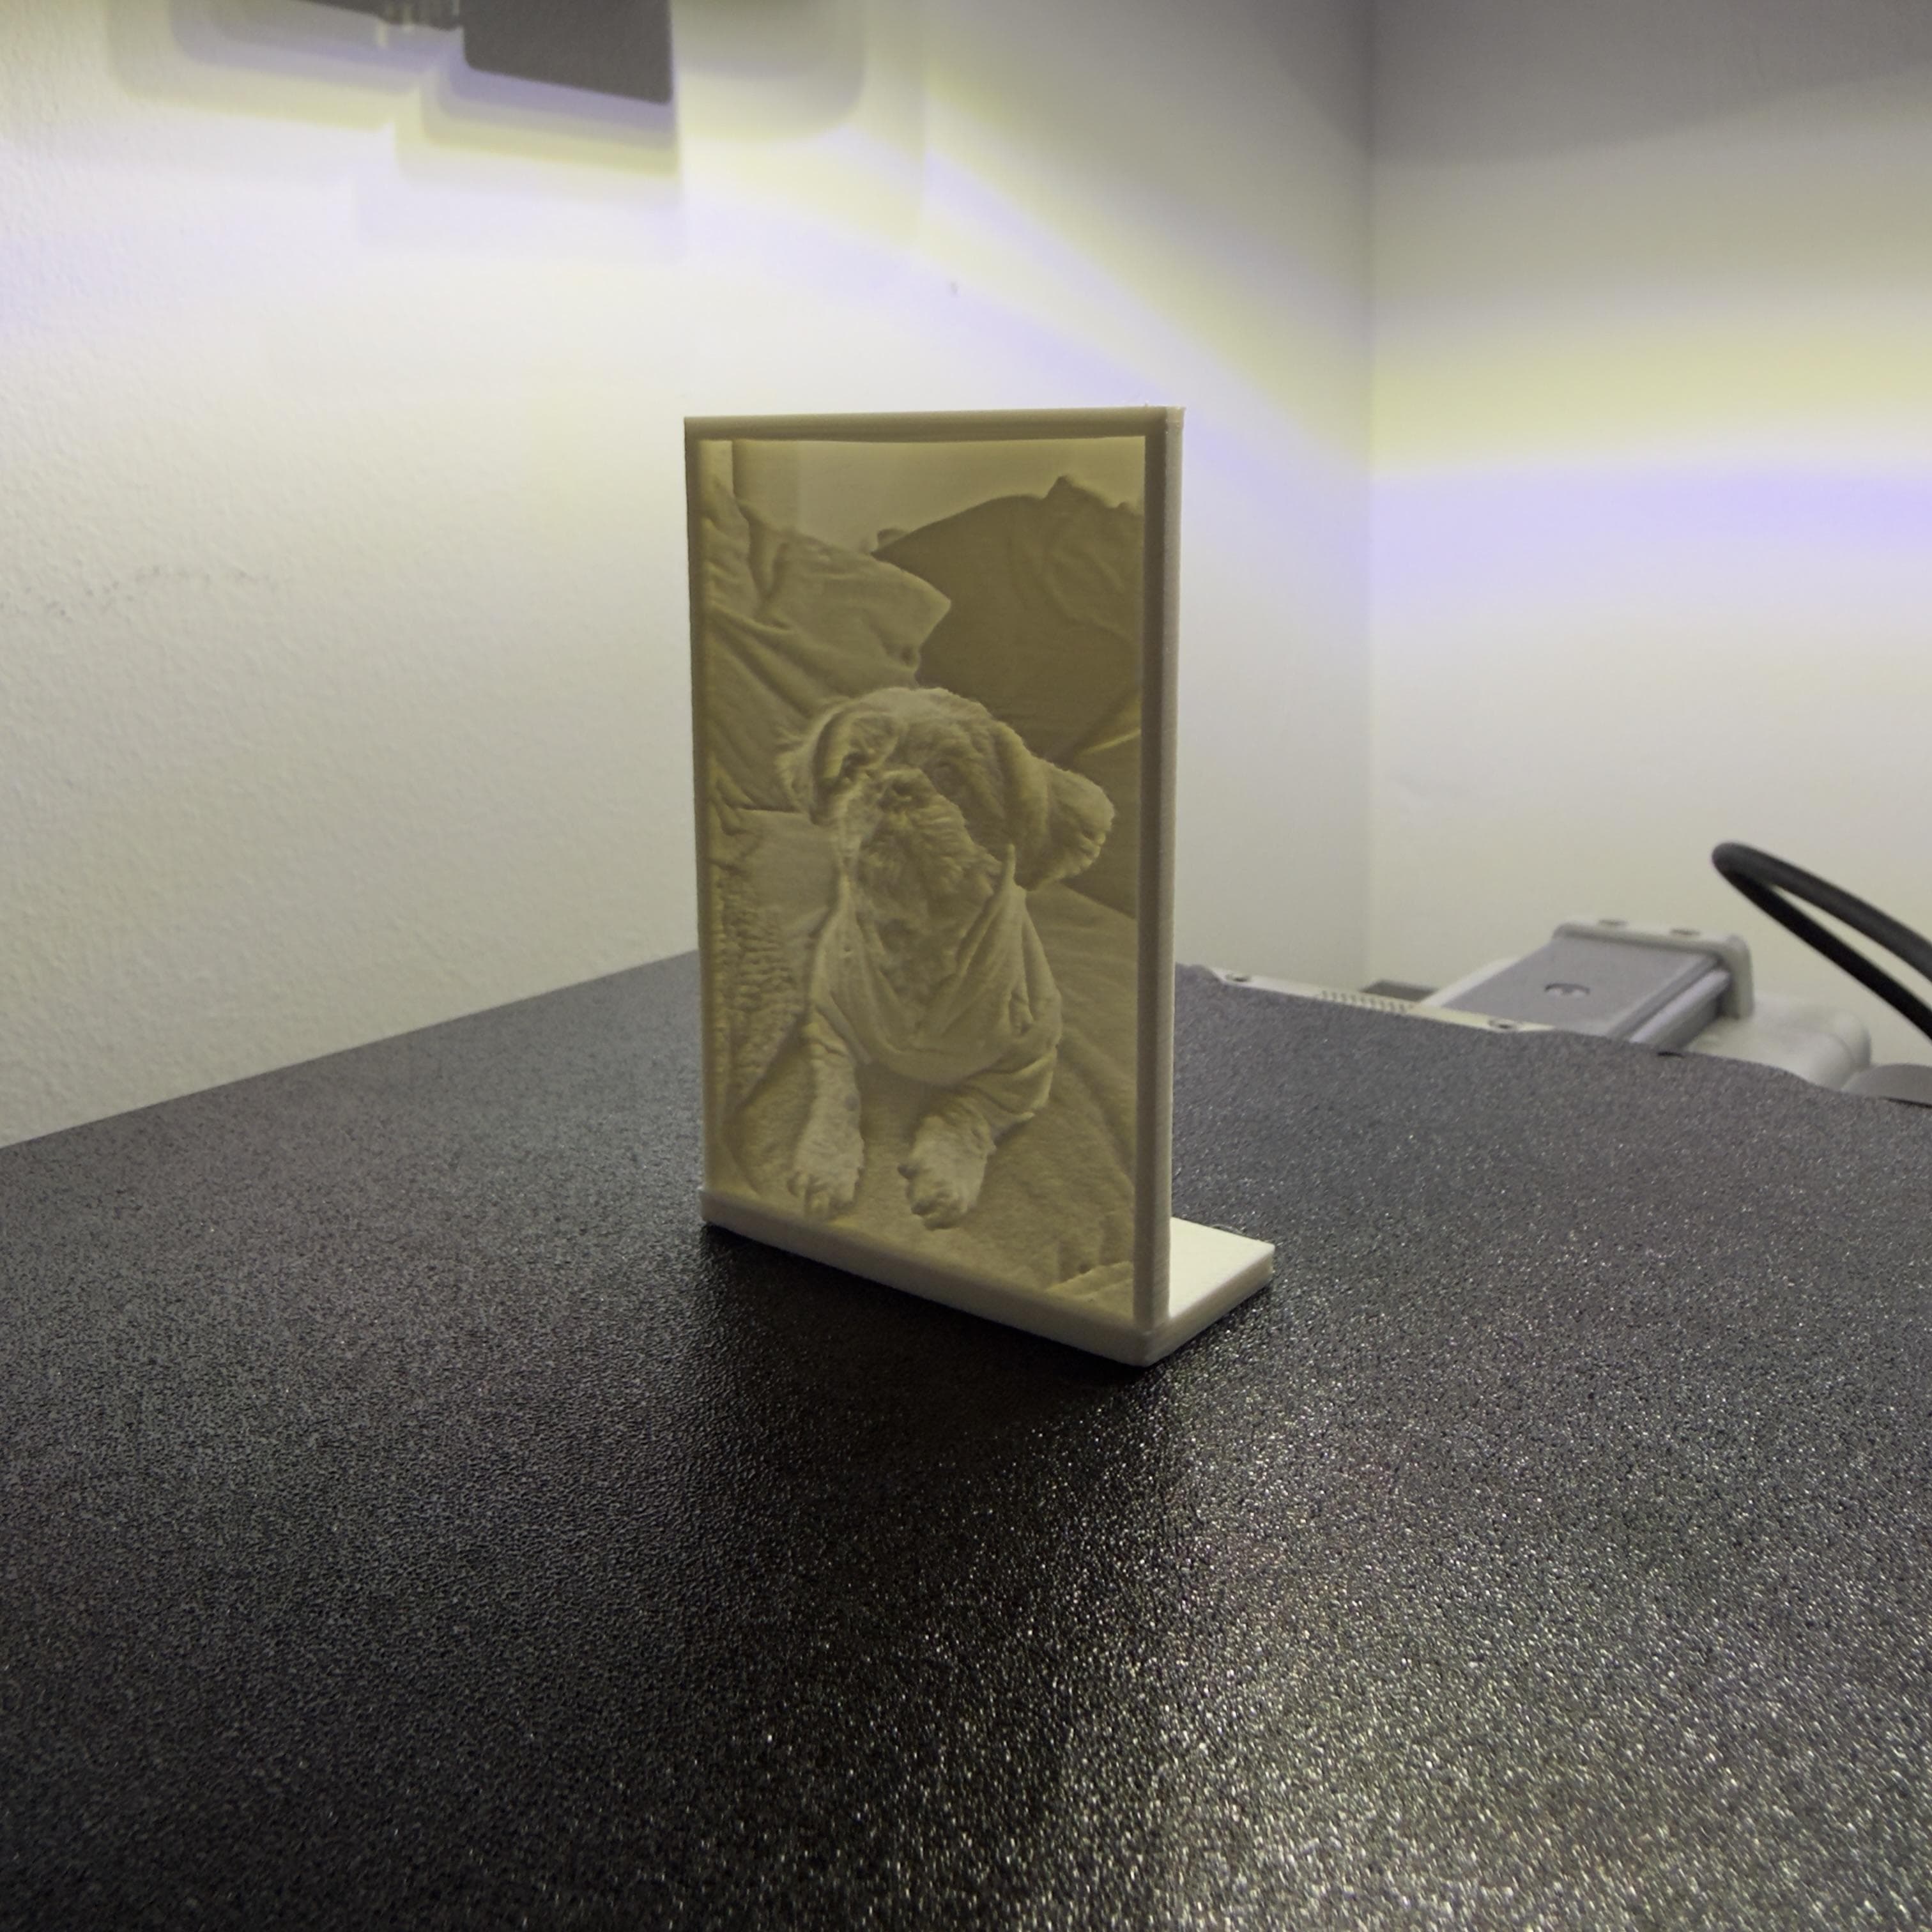
Standing lithophane — recommended starting values
- Padding: 5 mm
- Min/Max thickness: 1.2 / 3.4 mm
- Stand depth/thickness: 18 / 3 mm
- Bend angle: 90 deg
Cylinder lithophane — recommended starting values
- Width (wrap): 251.33 mm
- Height: 120 mm
- Min/Max thickness: 1.2 / 3.4 mm
- Resolution: 0.4 mm/px
All three shape presets are available in the 3DLithophaneMaker app. Select a preset first, then override individual values as needed.
Step 4 — Export STL or 3MF
Export STL for broad compatibility — it works in every major slicer. Export 3MF if your workflow benefits from the richer format. Both exports are free and generated entirely in your browser with no upload required.
Open the exported file in your slicer and verify the dimensions before slicing. If the model appears at the wrong scale, check that your slicer is importing in millimeters.
Step 5 — Slicer Settings for Better Results
These settings apply regardless of which slicer you use:
- Layer height: 0.12 to 0.20 mm — finer layers preserve more tonal gradation
- Infill: 99% — near-solid infill required for consistent light transmission
- Print speed: moderate and consistent — 30–50 mm/s is a reliable range
- Cooling: stable — avoid rapid fan changes mid-print that cause banding
- Supports: not needed for flat or cylinder shapes; standing models are self-supporting
Step 6 — Print Orientation and Material Tips
- Print flat models face-up on the bed. Standing models print vertically with the integrated stand providing the base — no supports needed.
- Use white or natural/translucent PLA for the clearest transmitted light. Avoid dark or opaque filaments.
- After printing, hold the finished piece in front of a consistent backlight to evaluate contrast. A phone flashlight or LED panel both work well.
- If the image is too dark, reduce max thickness in the lithophane maker and re-export.
Ready to try it yourself?
Open 3DLithophaneMaker and follow along with the steps above. No account or install needed — just a photo and a browser.
Troubleshooting
Lithophane too dark
Reduce maximum thickness by 0.2–0.4 mm and retest with the same backlight before changing multiple settings at once. You can also increase the brightness control in small increments — but fix thickness first, since it has the largest impact.
Missing fine detail
Check source image quality first — a blurry or low-resolution source will not improve at the print stage. Then verify that your resolution setting matches your nozzle size, and reduce any aggressive smoothing applied by your slicer profile.
Warping or weak base
Increase stand depth and thickness for standing prints. For flat prints, add a brim in your slicer. Verify first-layer adhesion with a clean bed and correctly tuned extrusion temperatures.
Visible layer lines or banding
Lower your layer height to 0.12 mm. Check that cooling is stable throughout the print — inconsistent fan speeds are a common cause of horizontal banding in translucent parts. Also ensure consistent filament pressure by using a dry, high-quality spool.
Lithophane FAQ
What image works best for a lithophane?
Photos with clear lighting, strong contrast, and a single main subject produce the best depth and detail. Portraits with good front lighting, landscapes with defined foreground and sky, and close-up product shots all work well. Avoid heavily compressed images or shots with significant motion blur.
Should I export STL or 3MF?
STL is broadly compatible with every major slicer including PrusaSlicer, Bambu Studio, Cura, and OrcaSlicer. 3MF is useful when you want richer metadata and a modern slicer workflow. Both are lossless — pick whichever your workflow supports.
Why does my lithophane look too dark?
Reduce max thickness by 0.2–0.4 mm and retest. You can also increase the brightness slider in small steps, or improve your backlight strength. Test with a single consistent light source — daylight coming through translucent PLA is a good baseline.
How do I improve missing fine detail?
Use a cleaner source image at full resolution, keep resolution aligned to your nozzle size (0.4 mm resolution for a 0.4 mm nozzle), and use a moderate layer height of 0.12–0.16 mm. Avoid aggressive slicer smoothing profiles.
What filament is best for lithophanes?
White or natural/translucent PLA is the standard choice. It transmits light evenly and is easy to print. Avoid dark or opaque colors — they block too much light. PETG works too but may need slightly higher temperatures and slower speeds for fine detail.
What is a good lithophane thickness?
A minimum thickness of 0.8–1.2 mm and a maximum of 3.0–3.4 mm covers most use cases. Thinner minimums increase contrast but reduce structural integrity. If you see cracking or warping in thinner areas, raise the minimum slightly.
Can I make a cylindrical lithophane lamp?
Yes. Use the Cylinder preset in 3DLithophaneMaker. Set the wrap width to match the circumference of your target cylinder (251.33 mm for an 80 mm diameter lamp is a common starting point), then export the curved model and print it vertically.
How do I avoid warping when printing a lithophane?
Use a clean, leveled bed with a good first-layer adhesion method (glue stick, PEI sheet, or similar). For standing lithophanes, increase the stand thickness and base depth. Print at a moderate temperature and avoid drafts in the print environment.
Start Making Yours
Load the example to explore the settings hands-on, or jump straight in with your own photo. The free lithophane generator runs entirely in your browser — no account, no install, no upload to any server.